Localtunnel - Easiest way to create a local tunnel
Starting a local tunnel is as simple as pasting the following command into your Terminal / Command Prompt:
ssh -p 443 -R0:localhost:8000 qr@a.pinggy.io
Change 8000 to your required port. Visit https://pinggy.io for more details.
Local tunnels are simple using Pinggy
Local Tunnels using a single command
Local tunnels are tunnels to localhost which helps in hosting websites, web applications, share files, remote access etc. It essential where port forwarding is not possible such as behind CGNAT and firewalls. Using just one Pinggy command get a secure local tunnel to your localhost server directly through the terminal. No need for platform-specific downloads and installations – Pinggy HTTP / TCP / TLS tunnels make server exposure effortless and efficient for developers worldwide.
Paste one command to start tunnel:
A local tunnel is created and you get an HTTP link to your localhost.
What is local tunnel?
A local tunnel is a secure tunnel to reach a device connected to a private locan network from the internet. A local tunnel can be for different protocols such as HTTP, TCP, UDP, etc., which allows tunneling of traffic of that protocol. For example, a HTTP local tunnel will allow you to host a website on your localhost, that is your local computer, and make it accessible from the internet through a public URL.
Usually localhost ports are not reachable from the interenet because of NAT, CGNATS, and firewalls. Local tunnels are solve this problem by tunneling in traffic in a secure manner. This is similar to port forwarding, but with the added advantage of a public address and the ability to circumvent CGNAT.
How to create a local tunnel
Using Pinggy is fastest way to setup a local tunnel. With just one command, a local server can be made accessible over the internet. This is particularly useful during development and testing phases.
Steps for HTTP local tunnel:
-
Open command prompt / terminal. Paste the following command and press enter to start a local tunnel. Replace
8000with your port.ssh -p 443 -R0:localhost:8000 qr@a.pinggy.io -
The local tunnel can be accessed using the public URL given by Pinggy.
Customize the command for required features and better reliability:
-
Pinggy will give you a random URL for your local tunnel by default. To avoid this, you can sign in to https://dashboard.pinggy.io to get an access token. When you start a tunnel using your access token, you can find ongoing tunnel URLs from the dashboard. You can upgrade to Pro to get a persistent subdomain.
-
You can link a custom domain to your Pinggy tunnel to have a permanent URL to localhost.
Steps for TCP local tunnel:
-
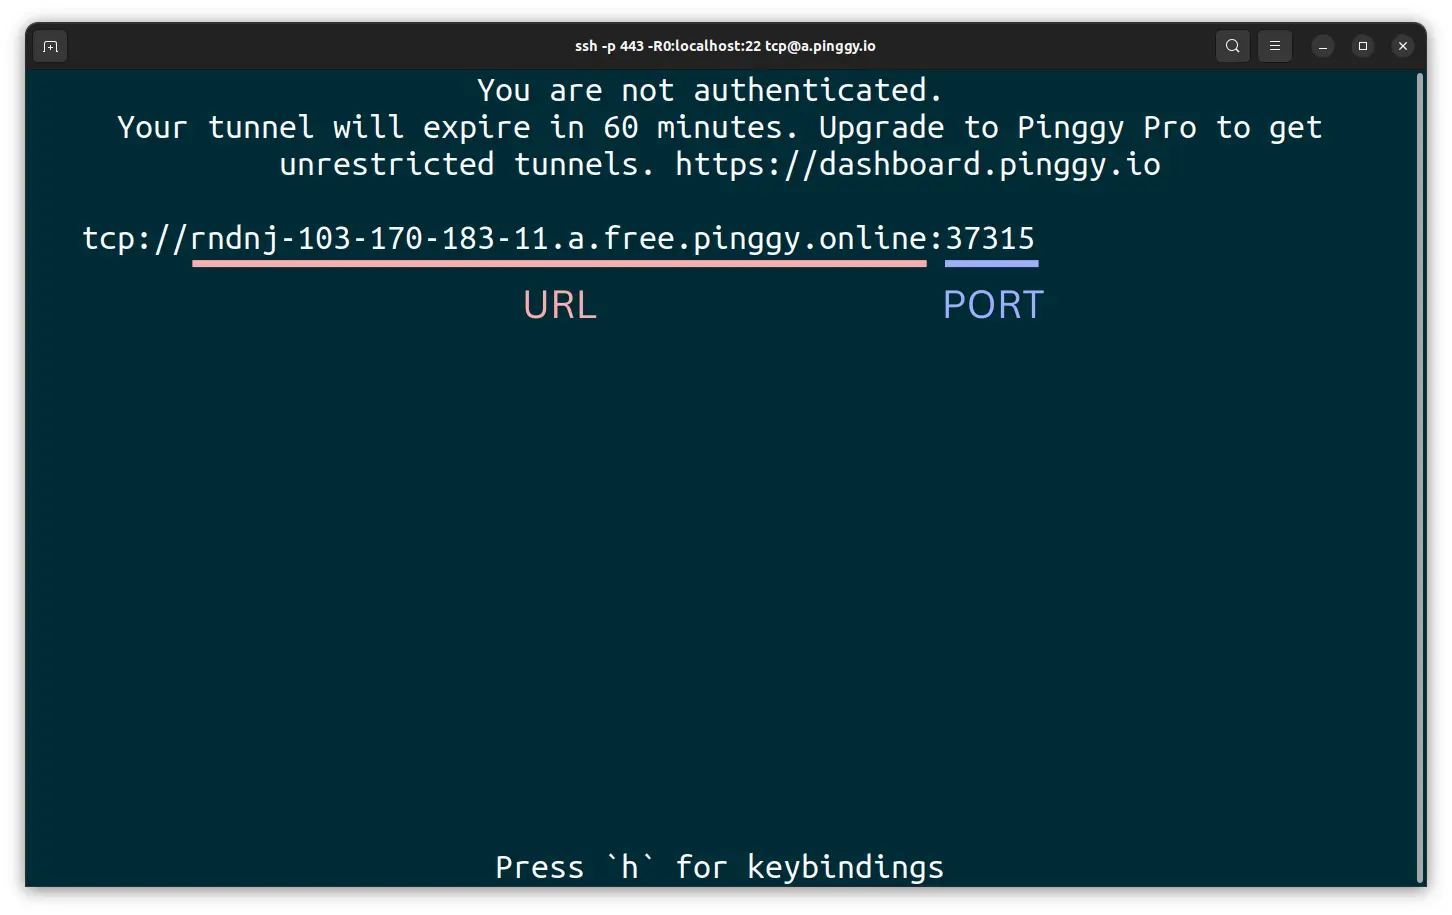
You can create TCP local tunnel by running the following command in command prompt / terminal (replace
22with your port):ssh -p 443 -R0:localhost:22 tcp@a.pinggy.ioYou can customize the command with more options:
-
After running the tunneling command, you will receive a public URL in the following format: tcp://tljocjkijs.a.pinggy.link:40527
You can use this address and port to connect to your local port from outside the local network.
